


PRESS RELEASE: How to Change Automotive Paint Booth Filters for Optimal Performance
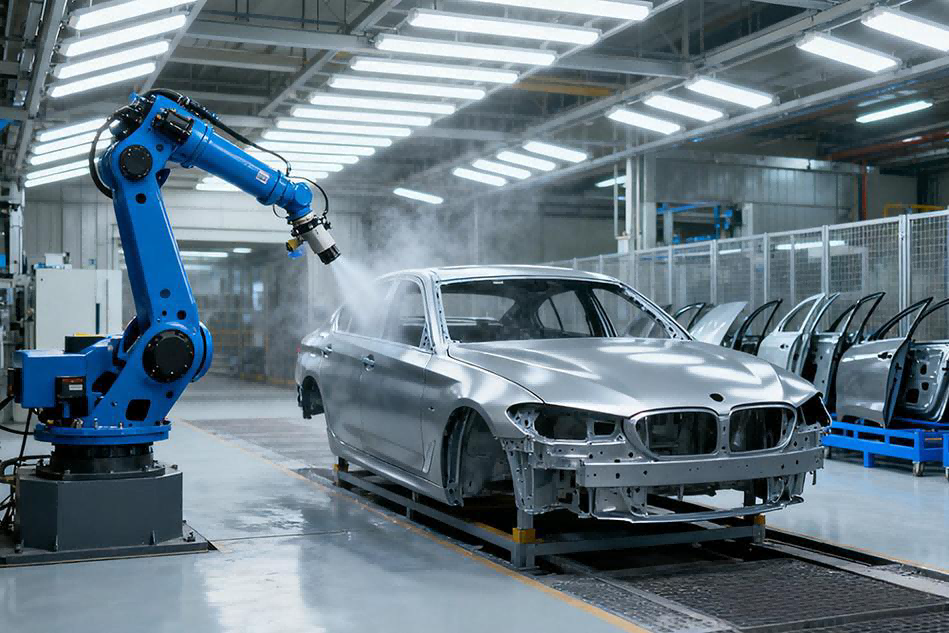
As the automotive industry continues to evolve, maintaining high standards in the painting process is essential to achieving high-quality paint results and ensuring worker safety. One of the most critical aspects of this maintenance is the regular replacement of your automotive paint booth’s filters. Guangzhou LJF hereby provides a comprehensive guide on how to effectively replace your Paint Booth Filters to ensure optimal performance and air quality.
Importance of changing filters
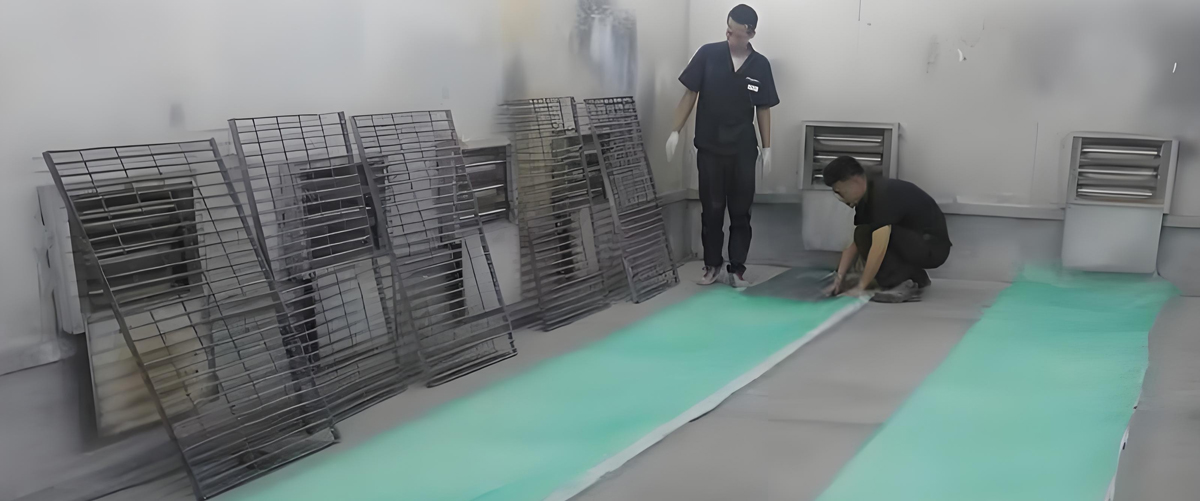
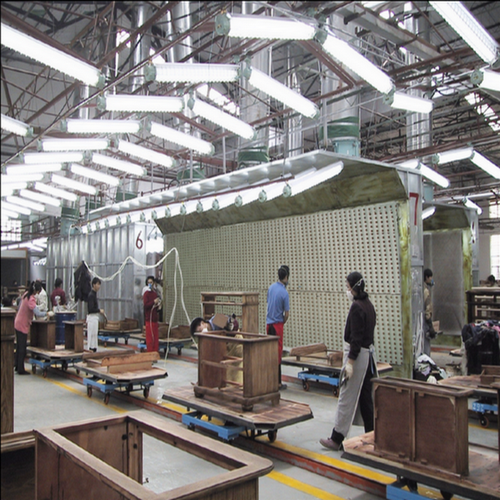
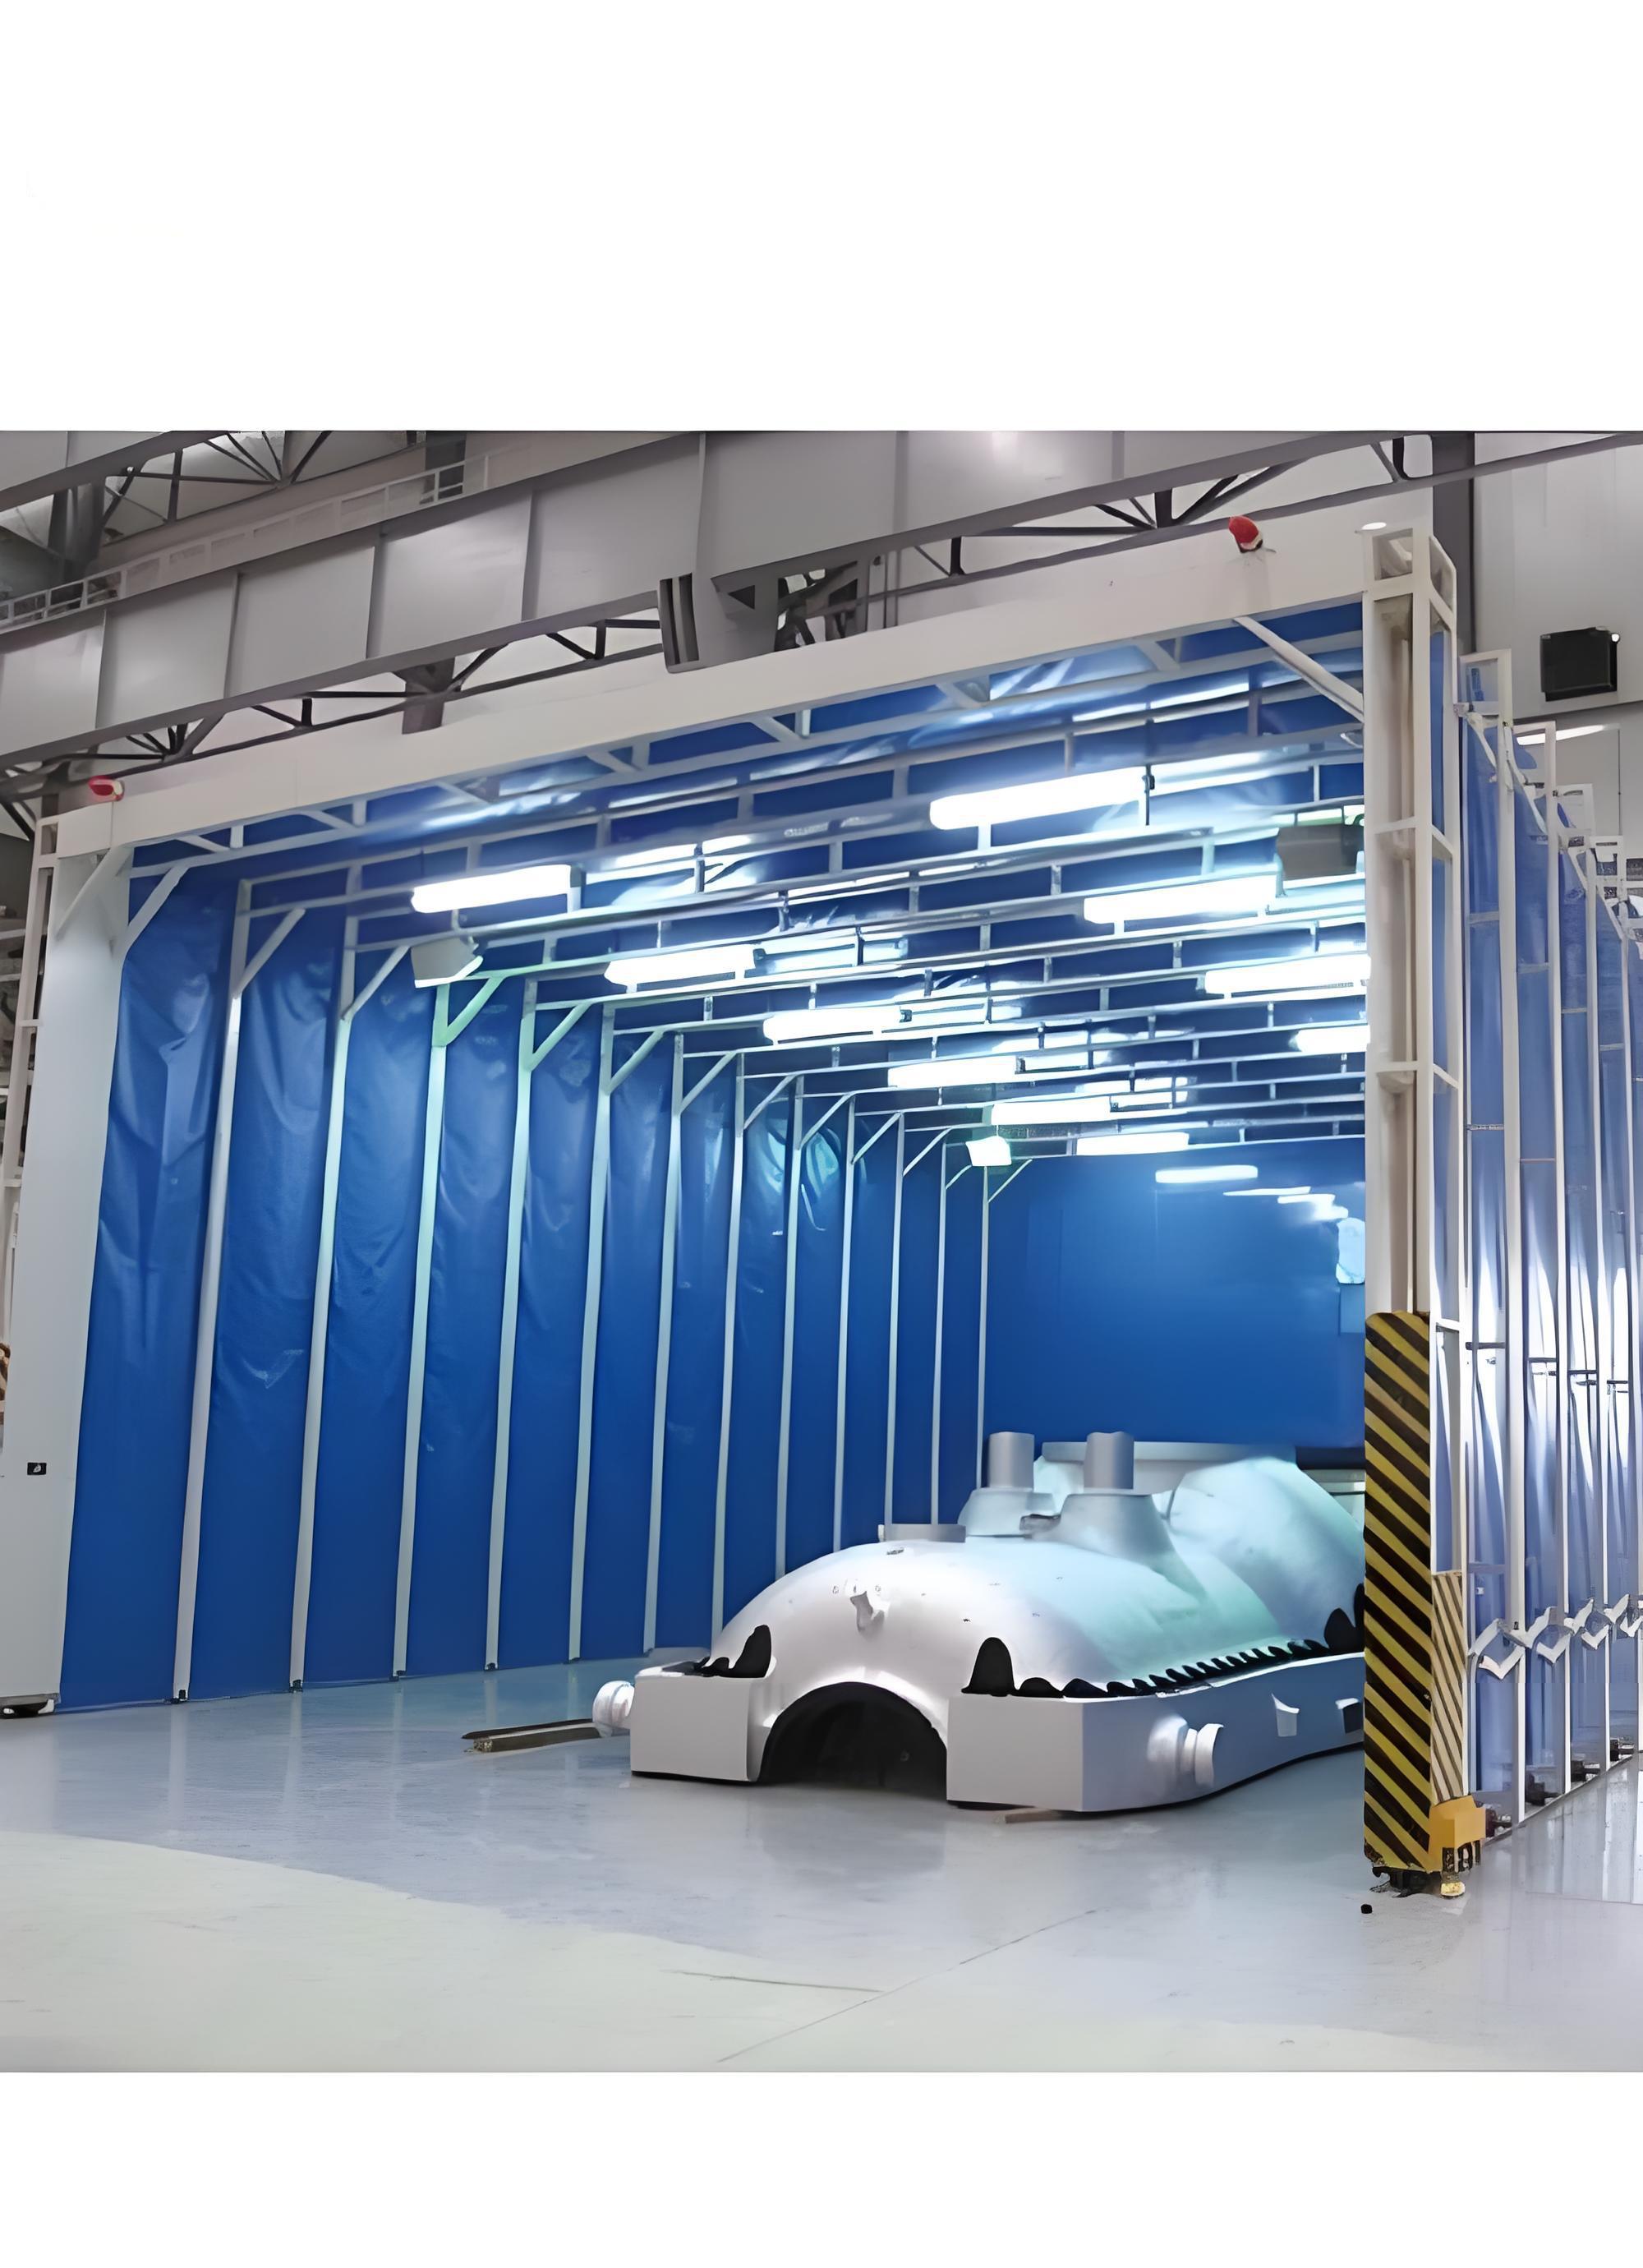
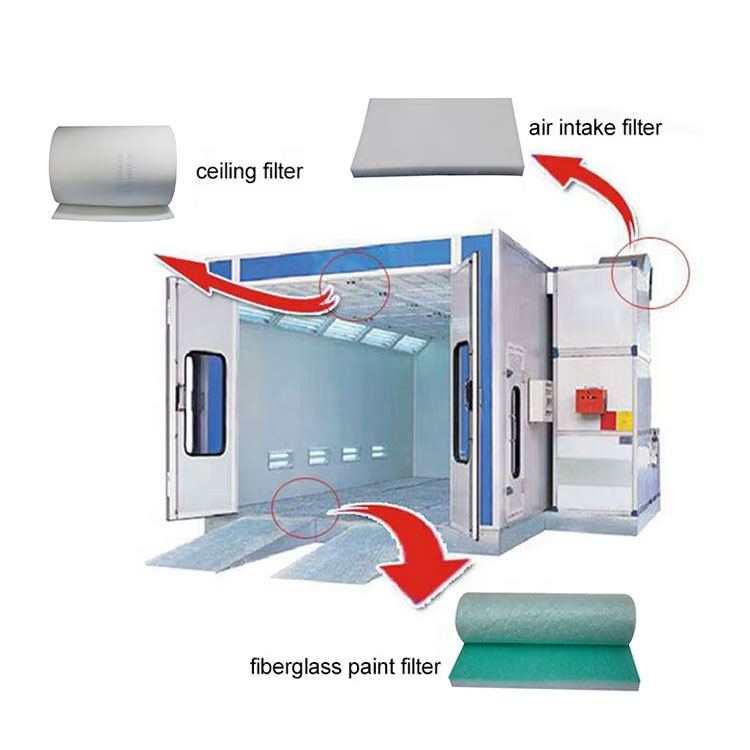
Filters in paint spray booths play a vital role in capturing overspray, dust, and other airborne particles. Over time, these filters can become clogged, resulting in reduced airflow, increased energy consumption, and decreased air quality. Regularly changing filters will not only improve the efficiency of your paint spray booth, but also provide a safer working environment for your employees.
Step-by-step guide to changing your Spray Booth Filter
1.Gather Necessary Tools and Materials: Before beginning the replacement process, make sure you have the following tools and materials on hand:
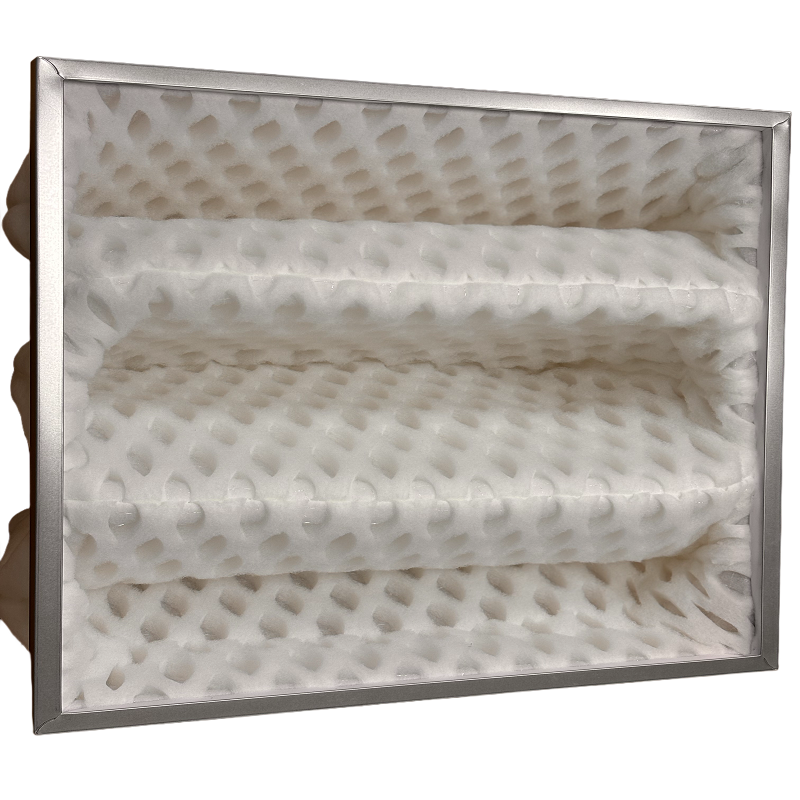
- New filter (appropriate for your spray booth model)
- Screwdriver (if access panel is required)
- Vacuum cleaner or compressed air (for cleaning)
- Safety gloves and goggles
2.Shut Down the Spray Booth: Safety comes first. Before starting any maintenance work, shut down the spray booth and disconnect it from the power supply to prevent any accidents.
3.Access the Filter Compartment: Depending on the design of your spray booth, you may need to remove an access panel or cover to access the filter compartment. If necessary, use a screwdriver to remove any screws or fasteners.
4.Remove the old filter: Carefully remove the old filter from the housing. Be careful as they may be covered in paint and dust. Dispose of the old filter according to local regulations.
5.Clean the filter housing: Before installing the new filter, clean the filter housing to remove accumulated dust and debris. Use a vacuum cleaner or compressed air to ensure the surface of the new filter is clean.
6.Install New Filter: Insert the new filter into the housing, making sure it fits snugly and is oriented correctly. Note any directional arrows on the filter indicating the correct airflow direction.
7.Reassemble the Booth: After installing the new filter, reinstall any access panels or covers that were removed. Make sure all parts are securely fastened.
8.Test the system: Reconnect the booth to power and turn it on. Monitor the airflow and listen for any unusual sounds. Make sure the system is running smoothly.
9.Schedule Regular Maintenance: To maintain optimal performance, schedule regular filter changes. Filters should generally be replaced every 1 to 3 months, depending on usage.
in conclusion
Replacing filters in your automotive paint booth is an important maintenance task to ensure efficient operation and high-quality paint results. By following this step-by-step guide, you can easily change filters and contribute to a safer, more efficient work environment.
At Guangzhou LJF, we are dedicated to providing high-quality filtration solutions for automotive paint booths and other applications. If you have any questions or need assistance with filtration, please feel free to contact us. Together, we can ensure your paint operation reaches peak performance!